on Thursday, November 21, 2013
(Exciting news: I have been selected as the winner of the 2012 CASLT H. H. Stern award for Innovation in Second Language Teaching!)
 
Please take a moment to visit my other websites when you get a chance:


This blog is designed mainly for beginner French students and their teachers. You will notice that most of the websites are interactive, free, ad-free, and do not require any registration. This collection can be used by teachers in class, or for individual students on their own computers, either in school or at home. 

Please let me know if any of the links do not work or if there is anything inappropriate. Also please email me if you have an interactive website to recommend: sylviaduckworth@rogers.com. Merci, et amusez-vous bien! 

(Please look to the right for the links to these great websites.)

*Many thanks to my friends on Twitter. Most of the resources on this blog are from you! Please read this blogpost on "How Twitter helped me become an award-winning teacher"!

Also, please click here to read about how you can use social media with your classes.

RECENTLY ADDED WEBSITES (these items are also in my pages to the right):

1. Some of my blogposts:

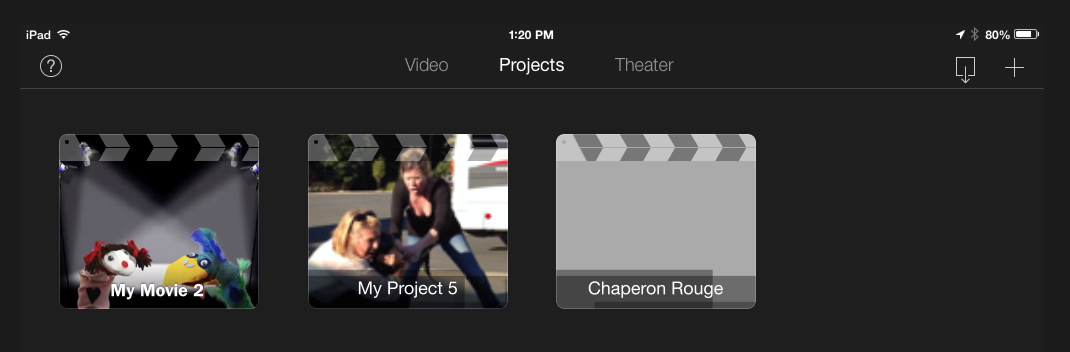
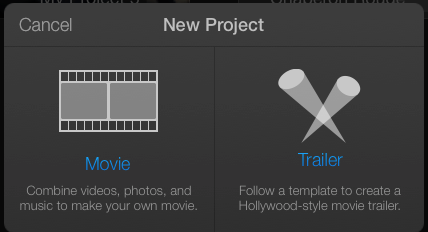
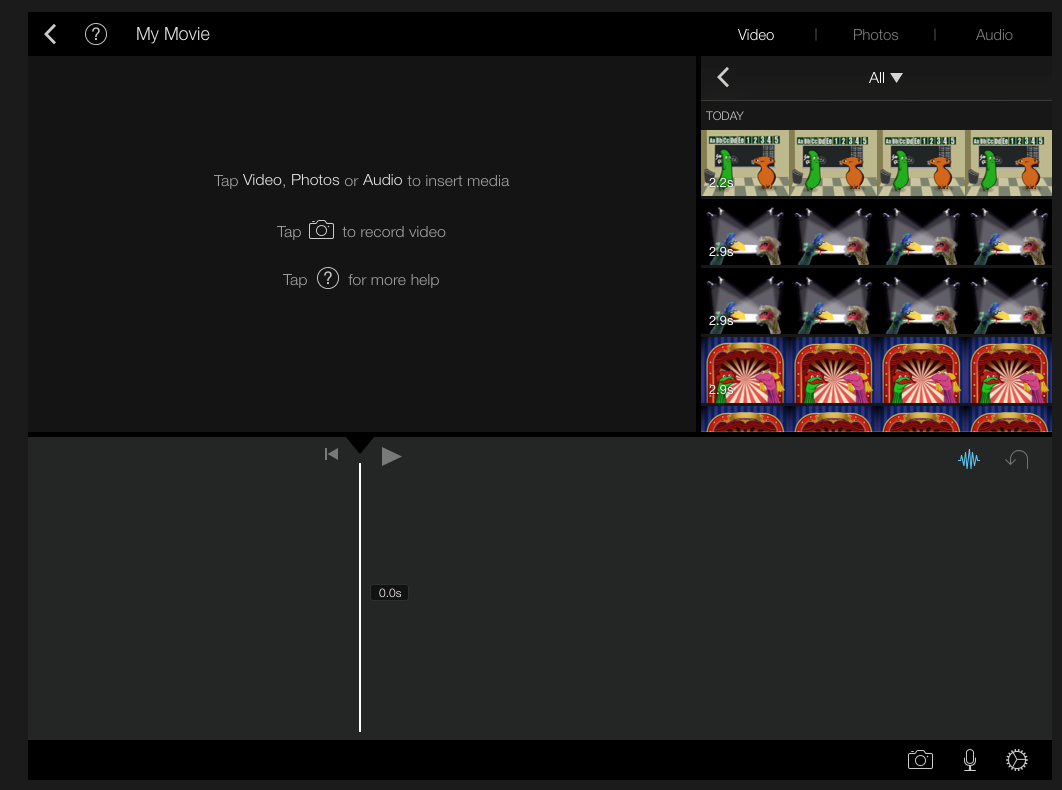
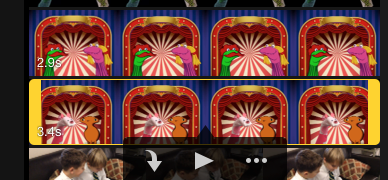
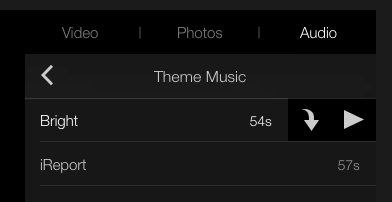
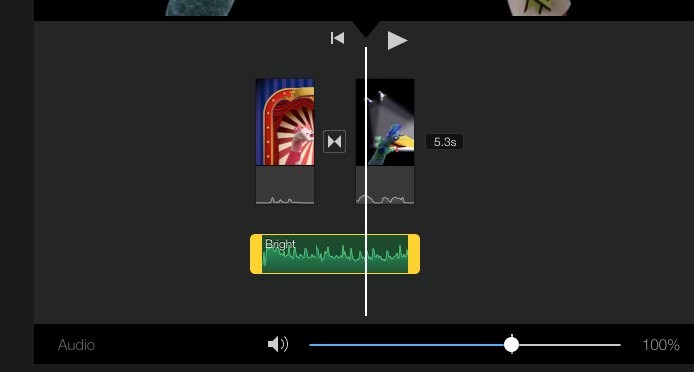
Click here for a blogpost I wrote on using iMovie and Blue/Greenscreening in class. 
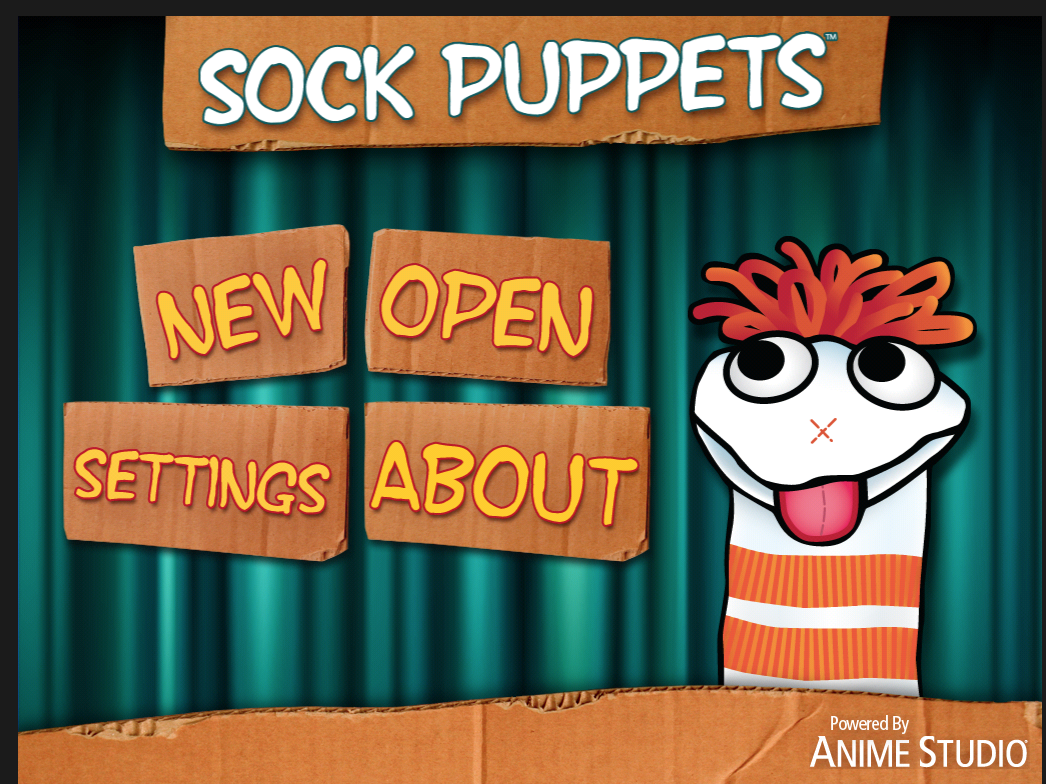
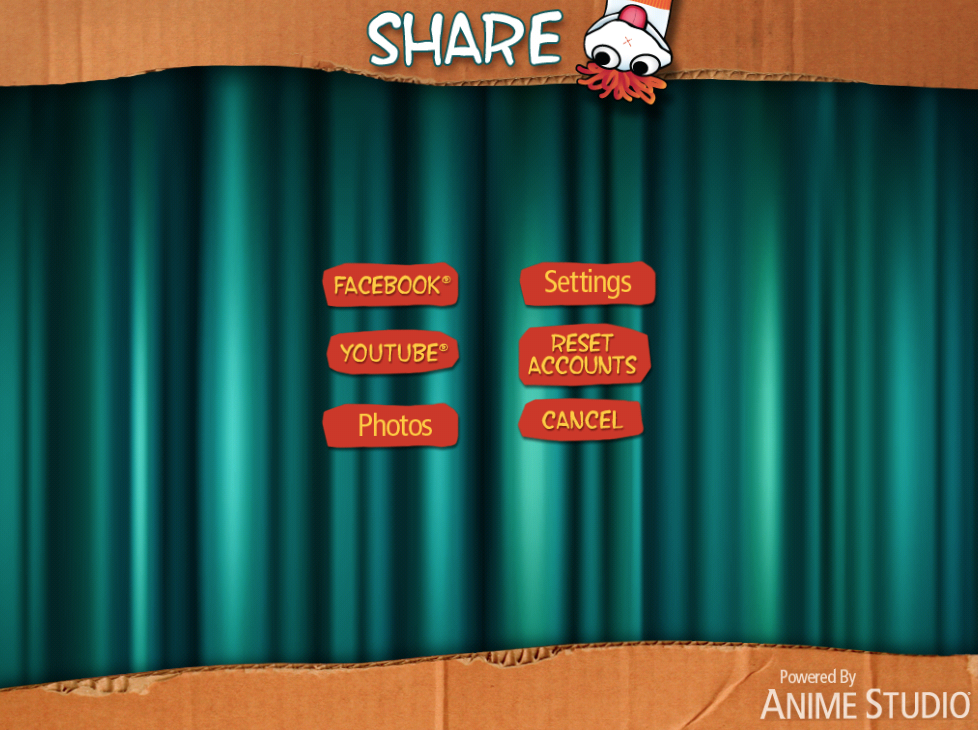
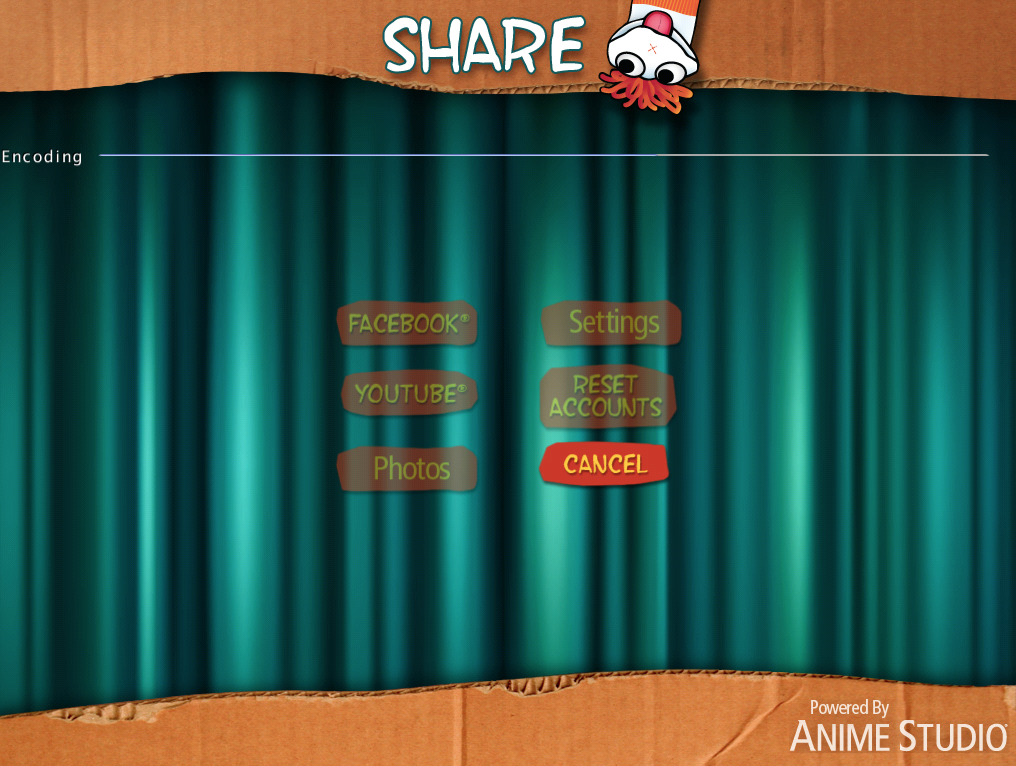
Click here to learn about how to make movies with SockPuppets and Tellagami.
Click here to find out how to make "Choose your own adventure" stories with Google forms.
Click here for "Having fun with the Chrome Omnibox".

2. Click here for "Pierre Lapin" par Beatrix Potter, l'histoire complète! 
3. Petit-bleu et Petit-jaune: Adorable video made by kindergarteners. 
4. Click here for "Code de bonne conduite en ligne". 
5. Click here for a PP on "La nuit avant Noël". Click here for an audio recording.
6. Click here to watch the Extra series en français. (My students adore these episodes! It's kind of like "Friends" but in French! Thx Joanne Thomas for uploading the videos and providing the worksheets.)
7. News in slow French <-- Cool idea!
8. Le journal des enfants 
9. 7 Jours sur la planète 
10. http://fr.monsterhigh.com/ <--Looks very interesting!
11. Click here for "Les textos en français". 
12. Click here for a really fun way to create a story. 
13. http://fr.vikidia.org/wiki/Accueil  Wikipedia-like site for young French students.
14. http://cabouge.tv5.ca "Ça bouge": lots of videos about Canada, en français. 
15. Audiolingua is a great resource to find audio recordings of authentic language speakers. Click here for the results of a search for children speaking in French.
16. https://www.verbling.com Interesting-looking site to practice speaking in different languages with other people.
17. Click here for "Le petit Nicholas": entire book + audio + questions.
18. Le grenier de Bisou Cute site with videos and games.
19. Click here for a very extensive document called "The FSL Survival Guide".
20. Click here for a great site for Bonhomme Carnaval activities. 
21. Le match de foot <-- Cute animation! 
22. Toupie et Binou: Cute site! (click on "jouer"). 
23. Click here for a very cool way to display individual YouTube videos. 

Making movies with SockPuppets and Tellagami

SockPuppets and Tellagami are two of my favourite creation apps. My students are loving them! Here are instructions for piecing separate scenes together into iMovie like this (created by grade 4 Core French students):


You can also upload your own backgrounds, like this:


First step: Students should have pre-written a dialogue, or you can give them one. Click here to see the one we used. This wonderful rap was taken from this video by Elizabeth Rogers
 

1. Open the app

2. If the app was not closed properly, click on the “Home button”

3. If it says “Close without saving”, click “Yes”.

4. You should now be on the Home page which looks like this:


5. Click on “Settings”. You should see this screen now. Click on the “Next” button.


6. Make sure that the puppets have High or Low voices (“Normal” is boring”). Then click on the “Home button.

7. Click on “New”. Select your characters. Click on the “Next” button.

8. Select your background. Click on “Next”.

9. Select Props and Scenery. Click on “Next”.

10. When you are ready, click on the red circle to record your voice. Notice that the little red arrow pointing to a puppet indicates which puppet is speaking.

 
11. You can keep on switching puppets (by clicking on them) and switching who is speaking.
12. To finish your recording, click on the yellow square.
13. To watch your video, click on the arrow (“Play button”). If you don't like it, hit the "Go back" button.
 
       Record         Play        Name    Share Go back   Home
14. If you want to add another scene ie. change the background, you need to share (Publish) this video first. 
Name your video by clicking the “Name button”:

Make up a title: Suggestion: (Your name 1)

15. Now hit the “Share” button:    
Click on “Photos”. This button is glitchy. You may have to hit it a few times. You know it’s saving when you see a very thin bar called “Encoding”. You should see a thin blue line advancing.
16. This video is now on your camera roll and you can make another scene. Hit the “Home” button and start again. Do the steps #4 to #15 above.

MAKING YOUR iMOVIE

17. When you have finished all your scenes, you are ready to piece them together in iMovie. Open the iMovie app by clicking on the Home button of your iPad (you may have to hit it twice).
18. You need to go to the “Projects” page. Click on the + sign, top right hand corner.
19. Click on “Movie”:
20. Click on “Create Movie”
21. You should see your videos on the top right hand corner:

22. Click on your first video, then click on the arrow pointing down.
23. Keep on adding your SockPuppet videos to your movie.
24. When you are done, you can add music by clicking on “Audio”. Probably best to stick with “Theme Music” for now.
25. Listen to the music tracks by clicking on the arrow to the right:
If you like it, click on the arrow pointing down to insert it into your video.
26. See what your project looks like by clicking on the arrow:
27. If the music is too loud, click on the music track and move the cursor to the left (at the bottom).
28. When you are ready to publish your video, click on the back button, top left hand corner:
29. Give your movie a name by clicking on “MY MOVIE”. Click “Done”.


30. Now you need to open up “AirDrop” to share the movie with your teacher. At the bottom of your screen, put your finger down and push it upwards. This should come up:
31. Click on “AirDrop: Everyone”:
32. Make sure that your teacher has his/her AirDrop open (ask him/her).

33. Hit the “Share” button.
34. Click on “AirDrop”
35. Click on “Sylvia A’s iPad” (or teacher’s iPad)
36. Once your teacher accepts the movie, you will see a “Sent” message:

37. Voilà, FINI!

Click here to see my Tellagami video, make the same way (piecing separate videos together into iMovie).


Using Google Apps to Make Interactive Stories

on Saturday, November 9, 2013

I was inspired today by a blogpost I found online written by Jonathan Wylie about “Creating Interactive Choose Your Own (Google) Adventure Stories". I tried to create one on my own with a Google form but had major difficulties. So I wrote up some idiot-proof instructions. 

First of all, take a look at my stories: One in English and below it, the same one in French:


Instructions

l. Google forms

Click here to see a sample story with images. Click here to see it in French.

1. Fill out an outline. If it’s too small, click on “View” 50%. To see an example, click here.
2. Open a Google form (Google Drive > Create > Form).

Choose a template and give it a title. Click “OK”.


3. When you look at your form, you will notice that you already have a Page 1 (top left hand corner).

Look at your story outline (#1 above) and create as many pages in your form as you need by clicking on the grey area outside the form and typing “ip”. If you’re not sure how many you will need, start off by creating 15.
4. Scroll back up to the top. On each page, where it says “Untitled page”, rename the page it’s page number (except for Page 1 which is the title of your form). Click “Done.”
5. Scroll up to Page 1. Where it says “Form description” type out the description for page 1 taken from your outline.
6. Click on the little arrow to the right of “Add item”. Choose “Multiple choice”.
7. “Untitled question”, leave blank.
8. “Help text” leave blank.
9. Check off “Go to page based on answer”
10. Where it says “Option 1”, delete “Option 1”, then type out (or cut and paste) your Option 1 for Page 1 (refer to your outline). Click on “Continue to next page” and click on “Go to page 2”
11. Where it says “Option 2”, delete “Option 2”, then type out (or cut and paste) your Option 2 for Page 1(refer to your outline). Click on “Continue to next page” and click on “Go to page 3”
12. Check off “Required question”, then “Done”.
*To make your story even more interesting, add an image to each page. Edit page, click on the arrow next to the“Add item” button, then “Image”.
13. Go to Page 2. Click on page title (“Page 2”) and under “Description” type out the page description from your outline. Click “Done”.
14. Click on the arrow next to the "Add item" button. Go to “Multiple choice”.
15. Question title, leave blank.
16. Help question leave blank.
17. Question type: check off “Go to page based on answer”
18. For Option 1, go to your outline and copy your Option 1 for Page 2. Click on “Continue to next page” and click on “Go to page 4”. For Option 2, click on “Continue to next page” and click on “Go to page 5”.
19. Go to page 3 and continue in this manner (#11 to 16) to the end of your story, following the lines on the outline to see which page the options should link to.
20. You can cheat (ie speed up the process) by linking to pages that you have already used. Make sure that you changed the lines on your outline to keep you from getting confused.
21: NOTE: When you look in your drive later for your form, you may notice that you have two versions of the form:


If you open the (Responses) , you will notice that it is a spreadsheet of responses for your story. This is not necessary for a “Choose-your-own-adventure” story, so you can just delete it if you want by clicking on the box to the left, and then clicking on the garbage icon on the top.


ll. Google presentations
Here is an interactive story I created with Google presentations. Click here to read how.


lll. Google docs
Click here to read about how to make a Google Doc interactive with bookmarks. Click here as well.

lV. Videos on YouTube
Click here for an awesome interactive video called: “The Time Machine: A Chad, Matt and Rob Interactive Adventure”. Click here to learn about how to make an interactive video with YouTube Annotations.

Click here to see my GAFE Summit presentation.