You can also upload your own backgrounds, like this:
First step: Students should have pre-written a dialogue, or you can give them one. Click here to see the one we used. This wonderful rap was taken from this video by Elizabeth Rogers
1. Open the app
2. If the app was not closed properly, click on the “Home button”
3. If it says “Close without saving”, click “Yes”.
4. You should now be on the Home page which looks like this:
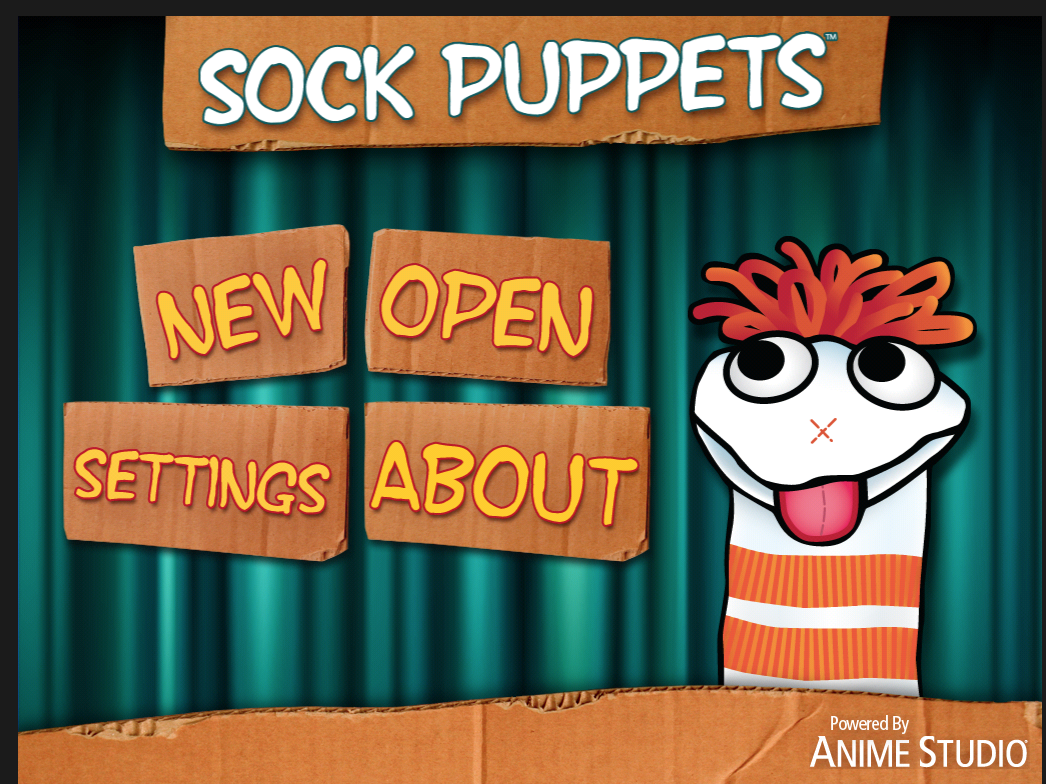
5. Click on “Settings”. You should see this screen now. Click on the “Next” button.
6. Make sure that the puppets have High or Low voices (“Normal” is boring”). Then click on the “Home button.
7. Click on “New”. Select your characters. Click on the “Next” button.
8. Select your background. Click on “Next”.
9. Select Props and Scenery. Click on “Next”.
10. When you are ready, click on the red circle to record your voice. Notice that the little red arrow pointing to a puppet indicates which puppet is speaking.

11. You can keep on switching puppets (by clicking on them) and switching who is speaking.
12. To finish your recording, click on the yellow square.
13. To watch your video, click on the arrow (“Play button”). If you don't like it, hit the "Go back" button.
Record Play Name Share Go back Home
14. If you want to add another scene ie. change the background, you need to share (Publish) this video first.
Name your video by clicking the “Name button”:
Make up a title: Suggestion: (Your name 1)
15. Now hit the “Share” button:
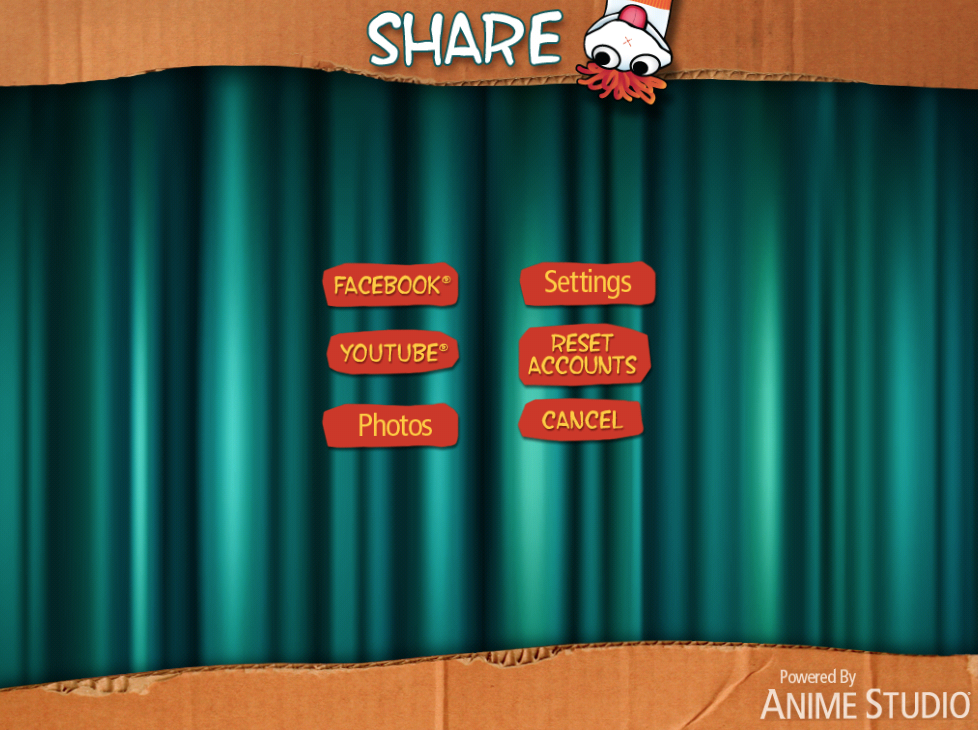
Click on “Photos”. This button is glitchy. You may have to hit it a few times. You know it’s saving when you see a very thin bar called “Encoding”. You should see a thin blue line advancing.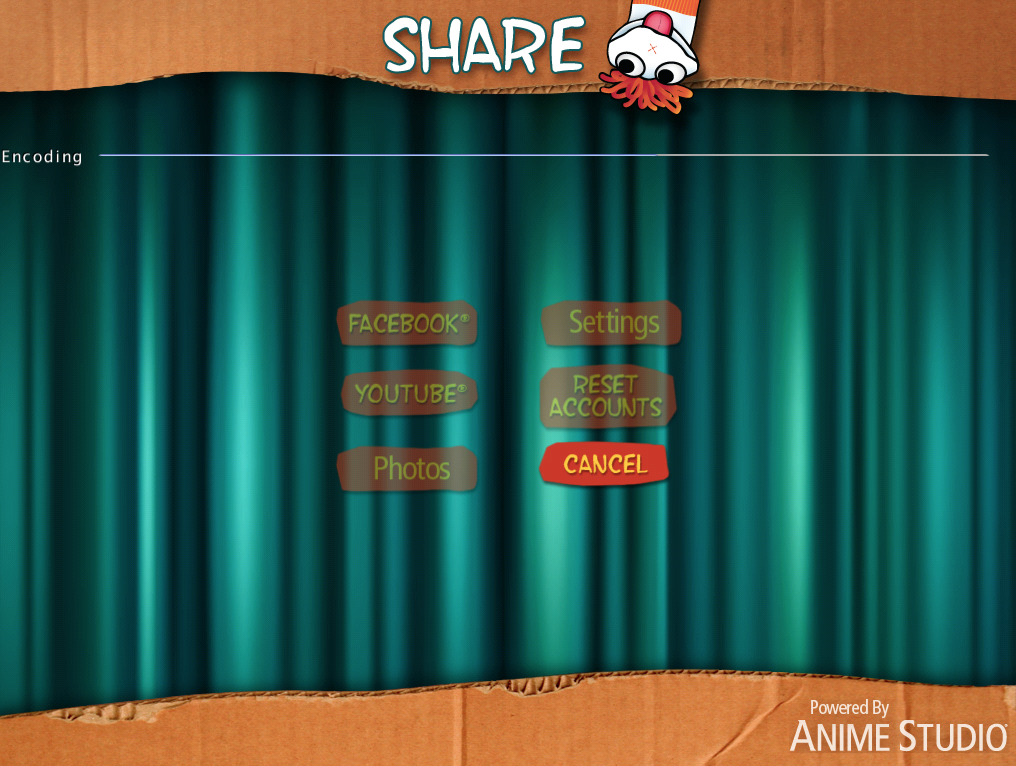
16. This video is now on your camera roll and you can make another scene. Hit the “Home” button and start again. Do the steps #4 to #15 above.
MAKING YOUR iMOVIE
17. When you have finished all your scenes, you are ready to piece them together in iMovie. Open the iMovie app by clicking on the Home button of your iPad (you may have to hit it twice). 
18. You need to go to the “Projects” page. Click on the + sign, top right hand corner.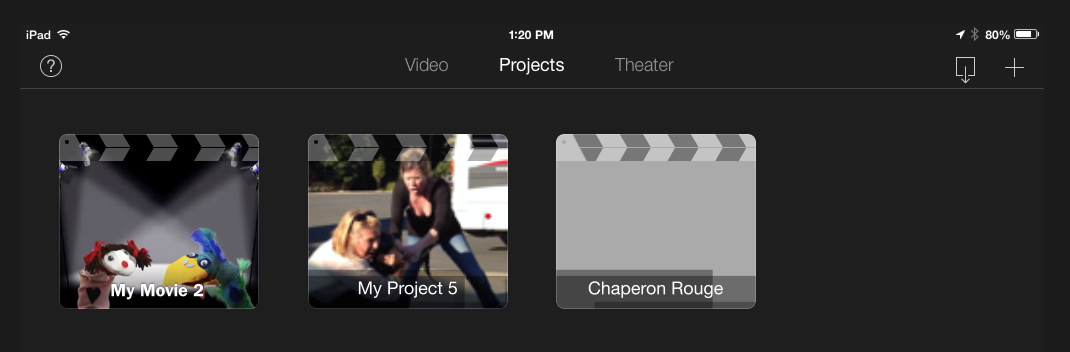
19. Click on “Movie”: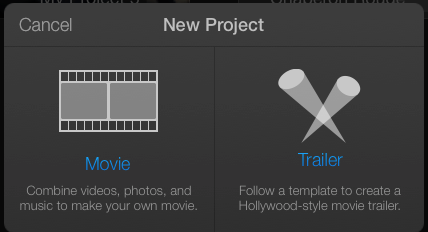
20. Click on “Create Movie”
21. You should see your videos on the top right hand corner: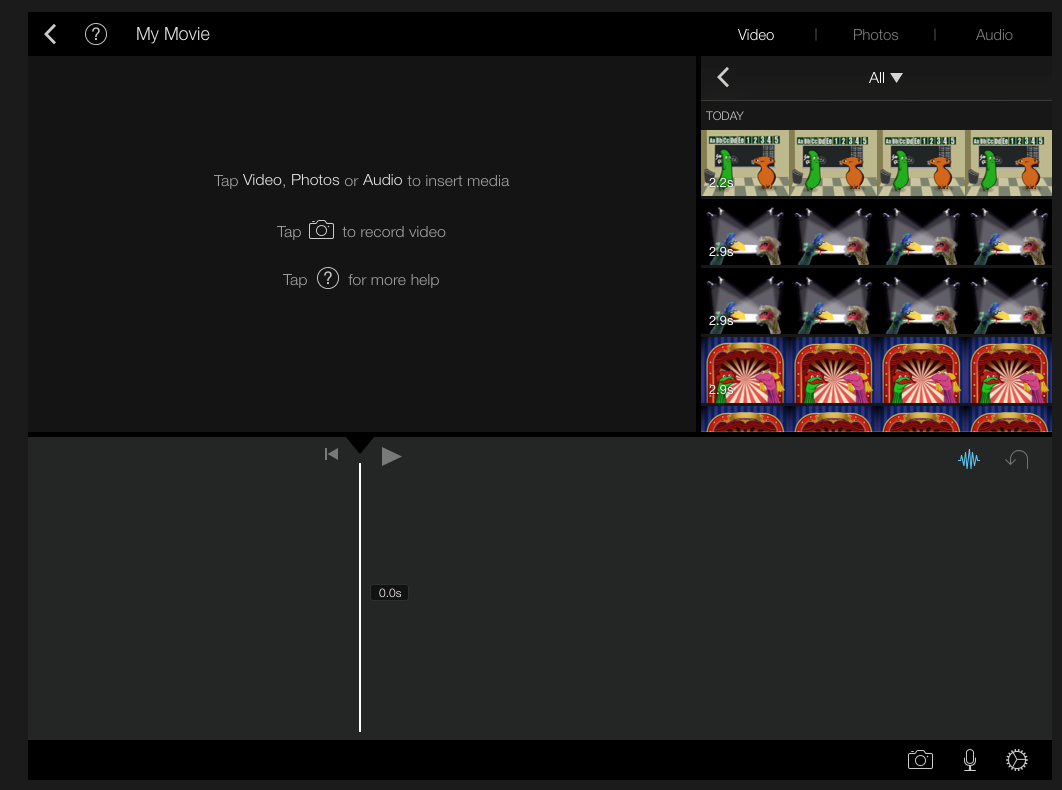
22. Click on your first video, then click on the arrow pointing down.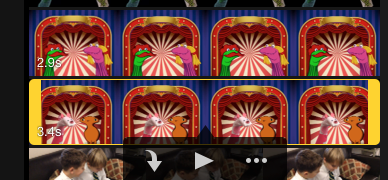
23. Keep on adding your SockPuppet videos to your movie.
24. When you are done, you can add music by clicking on “Audio”. Probably best to stick with “Theme Music” for now.
25. Listen to the music tracks by clicking on the arrow to the right: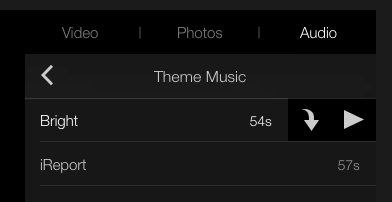
If you like it, click on the arrow pointing down to insert it into your video.
26. See what your project looks like by clicking on the arrow: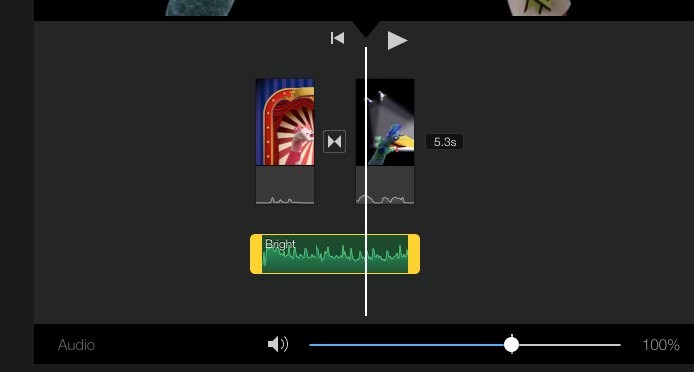
27. If the music is too loud, click on the music track and move the cursor to the left (at the bottom).
28. When you are ready to publish your video, click on the back button, top left hand corner:
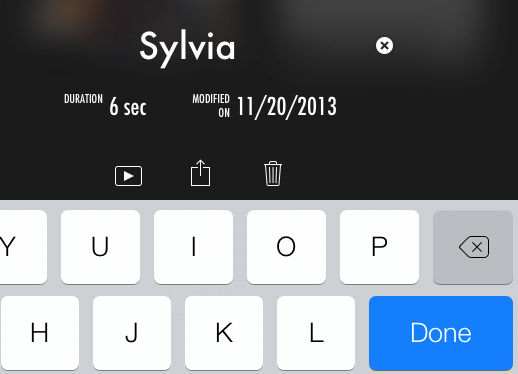
29. Give your movie a name by clicking on “MY MOVIE”. Click “Done”.
30. Now you need to open up “AirDrop” to share the movie with your teacher. At the bottom of your screen, put your finger down and push it upwards. This should come up:
31. Click on “AirDrop: Everyone”:
32. Make sure that your teacher has his/her AirDrop open (ask him/her).
33. Hit the “Share” button.
34. Click on “AirDrop”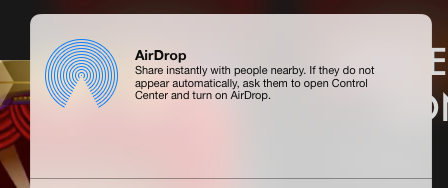
35. Click on “Sylvia A’s iPad” (or teacher’s iPad)
36. Once your teacher accepts the movie, you will see a “Sent” message: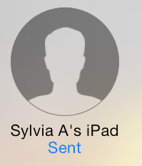
37. Voilà, FINI!
Click here to see my Tellagami video, make the same way (piecing separate videos together into iMovie).
Click here to see my Tellagami video, make the same way (piecing separate videos together into iMovie).
0 comments:
Post a Comment